Showing posts with label Apple Dolls. Show all posts

Jun 7, 2019

Apple Head Doll - Doris and Daisy (plus a link to my first video showing her magical creation)

You can find "Doris and Daisy" in my Etsy shop, Elusive Bobbin Studio.

Click here for a video featuring the creation of this doll.

Doris loves bright colors in her clothes 

and on her toes. 

She takes Daisy to the park for some fun


then kicks off her shoes to enjoy the sun.  


Jun 5, 2019

Apple Head Art Doll - The Peddler

"The Peddler" - SOLD

This will always be one of my favorite dolls.  

The first time I saw a peddler doll was in a collection of antique dolls given to me by my great aunt.  It was simple with a wooden egg-shaped head, not as fancy as the other porcelain dolls in the collection, but she was my favorite because of the trinkets in her basket. 

I saw my second peddler doll many years later working as a docent in a historic house museum in Memphis, TN.  The museum was hosting an exhibit of Victorian Toys for the Christmas season and among Steiff Bears, miniature pram, and other whimsies was an exquisite Peddler doll.  She was much more elaborate than my little wooden doll, and her basket was overflowing with treasures.

When I started making art dolls, making a Peddler doll topped my bucket list.

I hope you enjoy her as much as I do.


"The Peddler" has been sold, but please visit my Etsy shop, Elusive Bobbin Studio to see more creations.


Nov 28, 2018

Rewinding the Bobbin..Again, with a surprise.

It's been an eternity since I blogged here. Life got crazy, my figurative bobbins got all tangled into a horrible mess, and there may have been a health crisis or two. However, it's time to pick up the pieces, rewind those bobbins, give this blog a spruce up, and get going with new things. 

The best of those new things... 

I have an Etsy shop

The Elusive Bobbin Studio is now open for business. I've only listed a few Applehead Dolls and some Applehead Ornaments, but I'm adding more each week.  Be sure to check it out, and keep your eyes peeled for new content, including in depth looks at my highly detailed dolls right here on the blog in the weeks to come.


Nov 10, 2013

Pumpkin Planter How to


Need a long lasting splash of color for your fall gatherings, but don't want to spend big bucks on a fussy arrangement from a florist that is just going to wilt and die after a few days?
 For about $5, and 10 minutes, this little cutie pie is easy on your eyes and your wallet.  And in my experience, can last up to a month inside or on a patio.


Step 1 Decide if you want to use a plastic liner(juice bottle).  

The benefit to using a liner, is that if you need the arrangement before Halloween, but not after, you can actually remove the liner and plant leaving a carve-able pumpkin shell, and a plant for your garden. 
However, by not using a liner, when the planter has severed it's purpose you can move it to the garden and plant it pumpkin shell and all.  The shell will compost and enrich the soil, while the flowers will continue to thrive (weather and climate permitting)

Step 2  Mark and Cut the opening.

If you are using a plastic bottle, go ahead and cut the bottle in half about  1 inch shorter than your pumpkin, and use the top section as a guide to mark the opening.  Without a plastic bottle, cut your hole at least as big as the root mass of the plant your using.

Step 3  Scoop out the guts.  

(optional)
If you are using the plastic bottle, slide it into the pumpkin and trim the top edge so it is flush with the pumpkin.

Step 4  Add the plant.  
Add extra dirt if needed so the plant is secure within the pumpkin shell, or plastic bottle.

Step 5 Water and admire.
Makes a sweet centerpiece, or add a few sticks and use it to display wares at fall craft shows.  It also makes fabulous Halloween decor adorned with "shrunken"  apple heads and "zombies".


Nov 8, 2013

Pictures from the Fall 2013 Southland Flywheelers Show

Back in early October, I attended the Southland Flywheelers 2013 Fall Tractor Show and History Expo as a demonstrator of:  


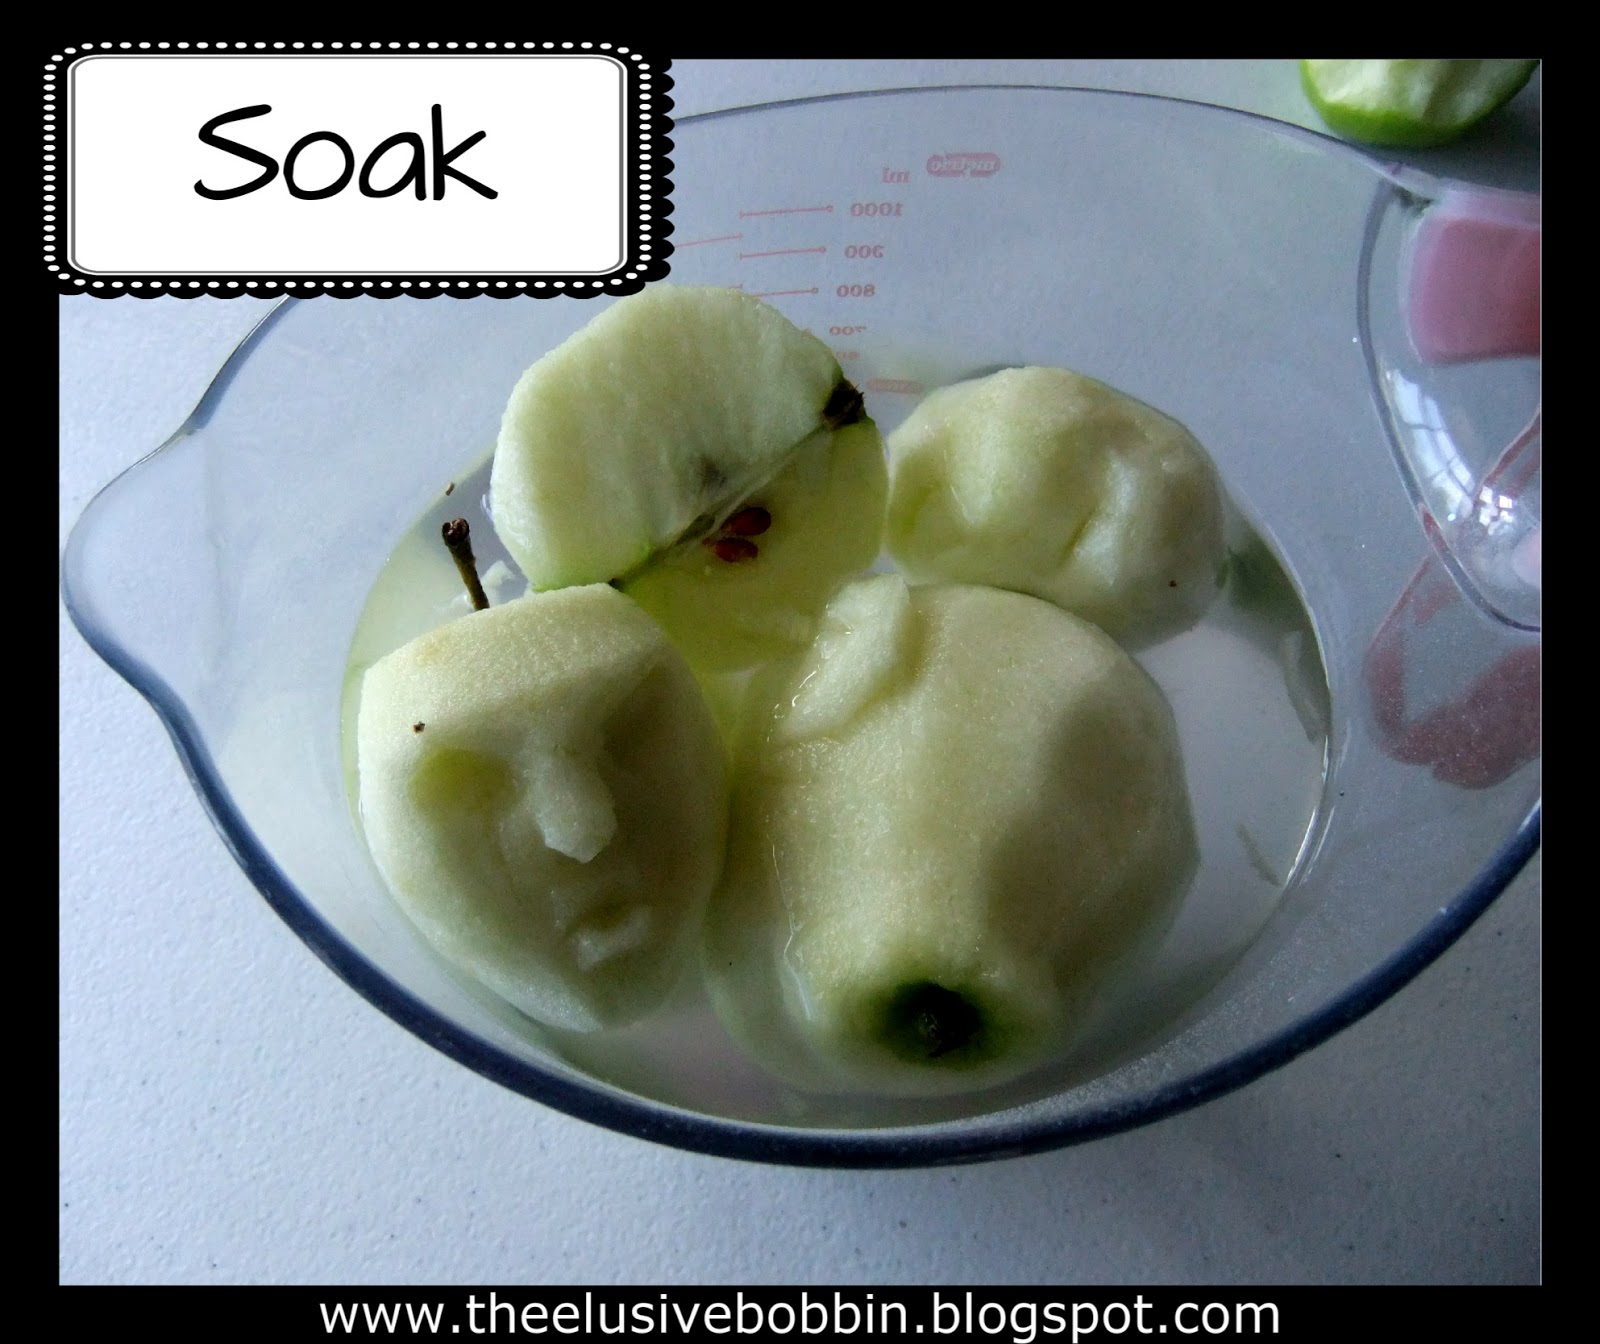
I took several items for display like Apple Doll Magnets,
 Witch Pins, and Shrunken Heads.

I also brought a few dolls.


 The lady in blue is Mary.  The fellow with her is Abraham.  They both have painted, sealed faces, with pose-able bodies and hands.  Martha, (seated in the front) has a soft body and an unsealed face, like most traditional Apple dolls.  Over time, her face will oxidize and darken to black.

This little lady had a name, but was sold/bartered, almost as soon as she was set out, to a fellow demonstrator, who was happy to let me keep her on display til the end of the day.


Speaking of other demonstrators, we didn't have as many this year, but the ones that came were great.  There was a blacksmith, cabinet maker, spinners, dyers, and a chair caner.

 This is Lou Ann Poole, a sweet and spirited person I'm proud to call friend.  

She is one of those amazing women who can and does do, just about everything.  She and her husband Mark even built a log cabin in their back yard to practice open hearth cooking.  For this event, she demonstrated chair caning.

Another dear friend of mine, is Master Cabinet Maker Christopher Lang.He received training in Williamsburg and has since worn many hats from historical interpreter, to curator, to furniture restorer, to stay at home dad.  No matter what his current title, his skills and tools are always kept sharp.  If you need an antique restored, he is the go to guy in the area.  


  This gorgeous hand made cherry sewing box will be mine in the very near future as payment for a set of historical clothing I made for his daughter.  There is a divided tray(not shown) that sits in the sewing box.  I had the opportunity at this event to choose the layout of the dividers and am so excited to see how it will turn out.
* Update 1-6-14:  The box is now finished and in my possession.  You can see pictures here.  
  
Other presenters and their displays:  
Spinners
Dyers 
 Blacksmith


Sep 27, 2013

How to Paint Your Apple Doll's Face


Once you have carved your apple doll, let it dry and given it eyes, you must decide how to finish it.  You have the option of leaving it natural, sealing it without painting, or painting and sealing it.  

Sep 23, 2013

How to Give Your Apple Doll Bead Eyes


After carving your Apple Head and letting it dry, you can add beads for eyes and paint it to give it more character. You can also use apple seeds, in the same way.  For dolls that I sell, I make polymer clay eyes that are inserted in a similar way after the Apple Head has been painted and sealed, using glue behind the eye to secure it. 


MATERIALS
sharp knife, acrylic paint, paint brush, sealant, beads


Use a sharp knife to cut a tiny horizontal slit where each eye will be.  Next, create a cavity by using the end of the paintbrush to make the slit more open and round.


Paint the inside of the cavity with white paint.

Insert a bead into the cavity.  Use the end of the paintbrush to move the bead into position.

Apply a big glob of sealant to each eye to lock the beads in place.

Optional:  use paint to change the color of the iris/bead.  You can also use black paint to paint the inside of the bead/pupil.


Be Sure to see all of my other Apple Doll Tutorials


Apr 26, 2013

How to Carve an Apple Head


Materials and Tools

Apples
Salt and Lemon Juice 
(or other fruit preservative like "Fruit Fresh")
Sharp Knife, Bowl to Soak Apples

Tips

  • You could use just about any kind of apple in a pinch, but you'll have an easier time and get the best results if you use a Granny Smith. 
  • Choose a sharp knife that is easy to handle and be careful. I use a paring knife for peeling and general shaping, but switch to a small pocket knife or potters tools for facial features.
  • Leave any "type A"/perfectionist personality traits at the door.  You can guide the shape and features of your apple head, but you can not control them.  Even if you carve a perfectly symmetrical face, it might dry contorted and misshapen.  Alternately you might carve a hideous face only to have it dry into a cute and kindly character.  Every apple is different and it's own unique internal structure will determine the finished product. 


1.  Peel the apple
I use a regular kitchen paring knife for this step, and have been known to leave the stem and skin around the stem indentation intact to show disbelievers that yes it is an apple.  My daughter says it looks like a belly button.
If you want your head to have a neck, go ahead and shape that now.


2.  Layout the Features.
If you are artistic by nature go ahead and wing it when it comes to laying out your face and carving.  Have fun, be creative and when you've finished carving continue to Step 4.

If "winging it" is outside your comfort zone, mark the basic shape and placement of features onto the apple.  Do this by "drawing" on the apple with with your knife, toothpick or skewer.  (Since the dolls I carve are "character" dolls, I don't worry about perfect anatomical proportion.  Besides, the drying process would likely undo all my hard work if I did.) 


3.  Carve the Features.
Use whatever process works for you.  If you not sure where to begin, try the method below. Remember your mistakes taste great with a sprinkle of cinnamon and sugar.  They'll also make a fabulous pie.

  • Start with the eyes.  Carve a divot where the eye will go under the brow and beside the nose. The technique I use to cut the eye area is to insert the tip of the knife at the corner next to the nose and keeping the tip in one spot, I sweep the blade around in a circular motion.  This creates the initial shape of the eyebrow, bridge, and top of the cheek. 
  • Define the nose and upper lip by cutting a little wedge from under the nose.  If you want a more rounded nose, go ahead and cut off the corners you just created.
  • Shape the cheeks by cutting away small wedges from the bottom corner of the nose, out towards the corner of the mouth.  This along with the shape of the eyebrows helps create the expression.  If this line is straight up and down your lady or gent will seem sad, upset, or surprised if you add an open mouth.  Angle the lines higher, like a clock hands pointing to 4:00 and 8:00 and curve it upward to follow rounded cheeks, and you'll have a much happier doll.
  • Refine the features, 
  • Optional: Add ears by cutting wedges from behind, above and below the ear. Most of my doll heads do not have ears.  They are tricky to carve and the drying process always distorts them.


4.  Soak
Make a strong solution of Fruit Fresh and water, or use a cup of lemon juice with 1 T salt.  Soak your apple for a minute or so. 


5.  Dry
Method 1  Hang until dry for 1-2 weeks in a warm dry spot out of direct sunlight, and watch as your plump round apple face shrinks and wrinkles into a little old lady or gent.  If you are in a hurry, or live in an area with high humidity, try method 2 or 3 below.
         
Method 2  Use a food dehydrator. A dehydrator gives the most consistent results.
        
Method 3  Use your oven. (not ideal, but does work most of the time)

How I used to "shrink" heads in the oven.  
Place apples on a wooden board in your oven set to 170 or less for 3-6 hrs.  If you place the apples on a baking sheet, it increases the chance they will cook, if you place them on a wire rack, you'll be left with unsightly marks from the rack.  Check the apples and board frequently the first drying to make sure your oven doesn't run hot.  You don't want baked apples or a fire.  Turn off the oven.  The next day, turn the oven back on 170 for 3-6 hours checking every hour or so.  Let cool.  Repeat the process until apples are dry, but still have some give.  If they get too dry, they will break.