
Warmer weather is here!
The garden is planted and although free time is still hard to find, I'm making time to turn my attentions back to Freddie Mae, or more specifically, her cabinet.
It wouldn't be right to put her back into a time ravaged cabinet, now that she's been revitalized, would it?

Step 1 Assess the damage.
Like other singer cabinets of it's time, this one rolled off the factory floor with a pristine shellac finish. But time and water have taken their toll.
(shellac really doesn't like water, and that's it's downside)

Looks pretty bad doesn't it? Believe me it's worse in person.
The bad news:
The top is in bad shape. In addition to the obvious water damage, there are speckles of what I believe to be white paint on the top plus, the veneer has lifted in a few spots.
The bottom line is that the finish on the top can't be saved. It'll have to come off. But that's the upside to shellac. It'll be pretty easy to remove and I think, I can manage it without loosing too much of the patina.
The good news:
Aside from a few small scratches and some dirt, the sides are in good shape and won't need to be stripped.
The plan:
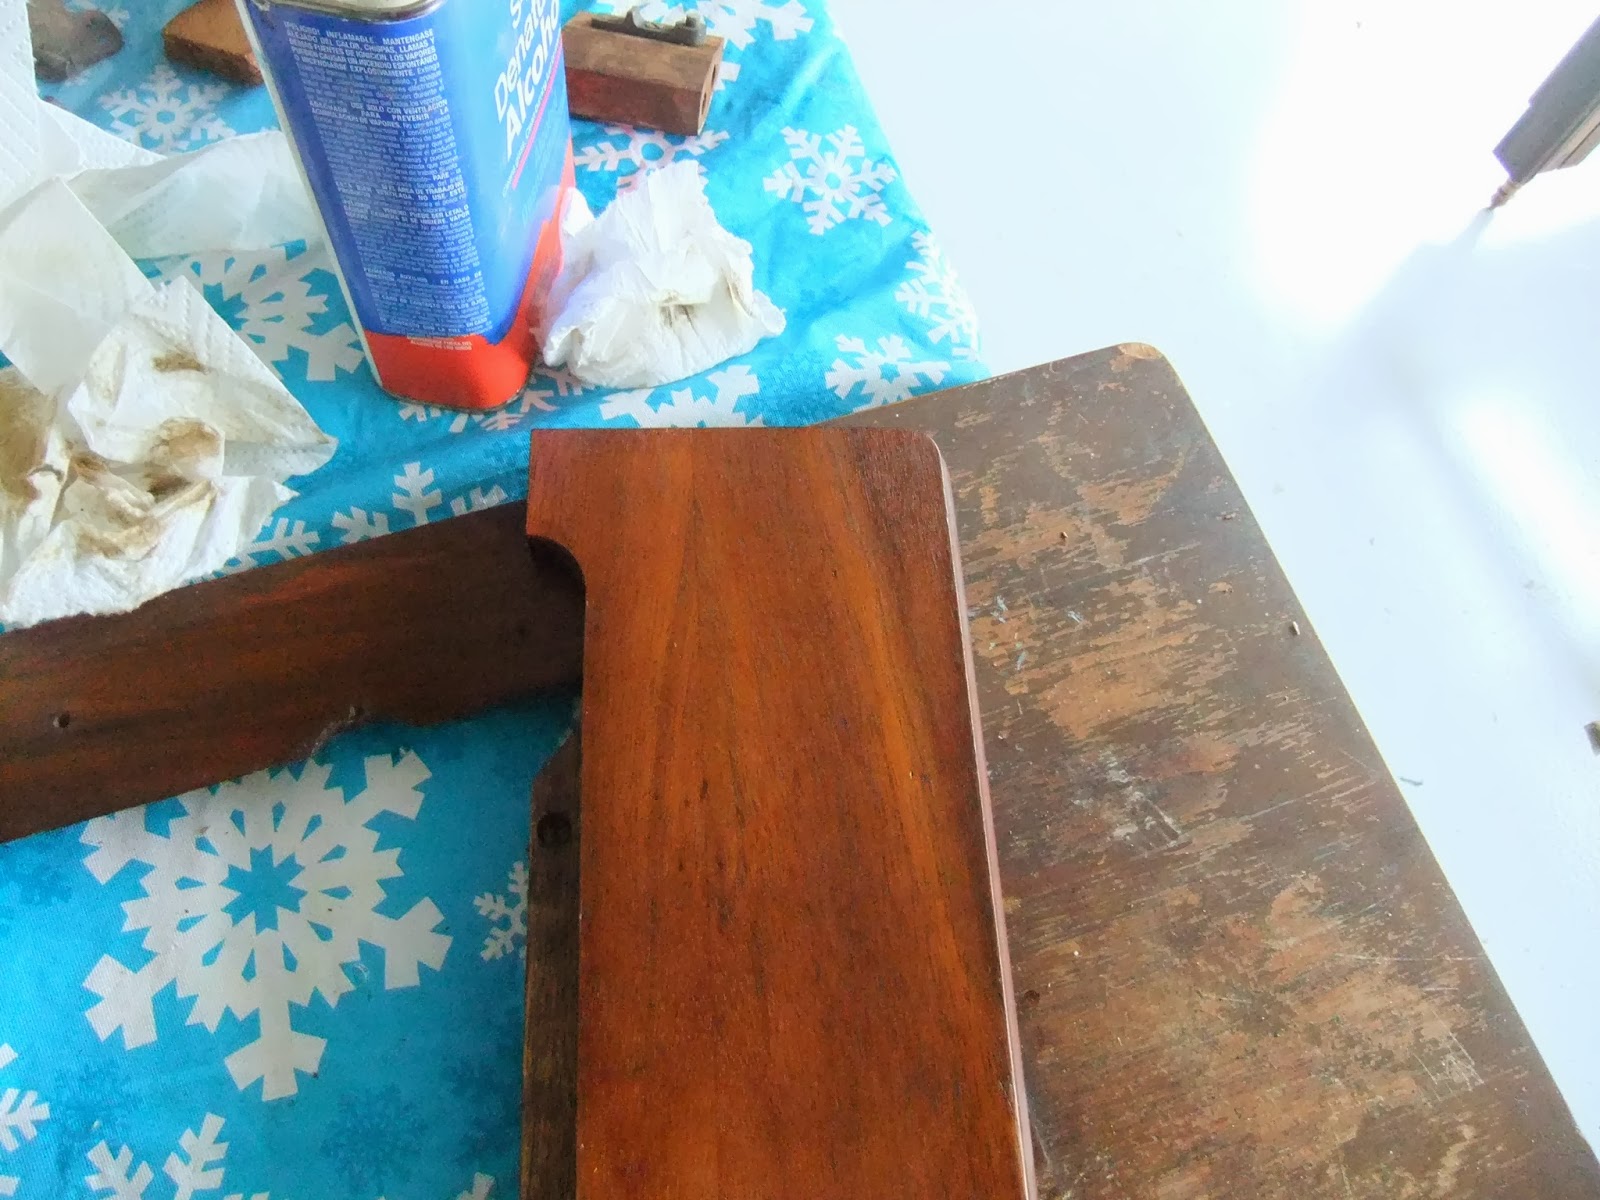
- Disassemble the cabinet.
- Use denatured alcohol and very fine steel wool to remove/level the worst of the shellac on the top.
- Clean the rest of the piece with my new favorite homemade fine furniture cleaner.
- Apply a fresh coat of boiled linseed oil.
- Add a fresh coat or two of shellac.
- Buff with superfine steel wool to remove the "brand new" feel.
- Apply a coat of good quality furniture wax.
- Put it all back together.
Next Up:
No comments:
Post a Comment
Thank you for visiting and taking the time to comment. I moderate all comments. Please allow up to 24 hrs. for your comment to appear.
- Amy